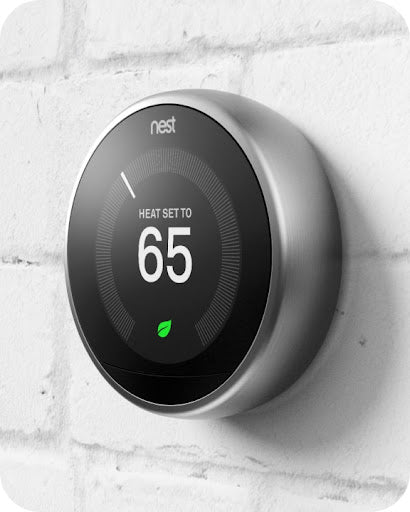
How install nest thermostat
Here is a general guide on how to install a Nest thermostat (Call your local team of expert for the professional install):
-
Turn off the power: Before starting any installation, turn off the power to your HVAC system at the breaker box to ensure safety.
-
Remove the old thermostat: Take off the cover of your old thermostat and disconnect the wires from the base. Make note of the wires and their corresponding labels.
-
Mount the Nest base plate: Attach the Nest base plate to the wall using screws and a screwdriver. Ensure it is level and securely mounted.
-
Connect the wires: Take the labeled wires from your old thermostat and connect them to the corresponding terminals on the Nest base. Gently push the wires into the terminals until they are secure.
-
Attach the Nest display: Align the Nest display with the base plate and snap it into place. Ensure it is properly connected and level on the wall.
-
Turn on the power: Go back to the breaker box and switch the power back on for your HVAC system.
-
Follow setup instructions: The Nest thermostat will guide you through the initial setup process. Follow the on-screen prompts to connect it to your Wi-Fi network and customize your preferences.
-
Test and adjust: Once the setup is complete, test your Nest thermostat by adjusting the temperature settings and verifying that your HVAC system responds accordingly.
If you encounter any difficulties during the installation process or have any questions, don't hesitate to call AC Plus Heating & Air. Our team of HVAC experts can provide guidance, support, or even professional installation services to ensure a smooth and successful installation of your Nest thermostat. Contact AC Plus Heating & Air today for all your HVAC needs and experience the difference of working with a trusted company.